Monday, January 31, 2011

Pineapple Tarts - Old & New

This must be at least nth post about pineapple tarts that you can find in the blogosphere. During Chinese New Year, pineapple tarts is something that almost every Chinese family will eat, and there are at least another 4 persons around me that bakes their own pineapple tarts.

I can't remember when I started to bake my own pineapple tarts, but whenever I do so, it is definitely 100% home-made i.e. making pineapple jam from scratch. I don't have to elaborate how laborious it can be, from grating the pineapples by hand (getting cuts on the fingers is pretty much the norm for me :p), standing in front of the stove and stirring the grated pineapples for hours, preparing the dough is easy, to moulding each tarts, and packing them in the containers. There are several occasions where I want to take the short-cut and buy off-the-shelf pineapple jam, but cross-fingers this has not happen yet. I still find immersed pleasure and joy to make these pineapple tarts from scratch and give them away to my family and relatives. Especially when there's a little more work stress these day, I like to play with the dough and be able to indulge in my own thoughts and world! Also reminiscing the good ol' days when I had both my mum and dad to help me out with all the preparation and baking of these pineapple tarts.

Here's sharing the 2 recipes with you, hope you enjoy and find joy in making pineapple tart as much as me!

*OLD Recipe

Ingredients/ Method:

Filling
11 half-riped pineapples
1kg caster sugar

1. Grate the pineapples and drained the juice. Do not squeeze out the juice as this is what give the filling the flavour.
2. Cook the grated pineapples in a pot over medium heat, stirring occasionally.
3. Add in the sugar when half of the juice is reduced.
4. Continue to cook until the jam is totally dry on low heat, which takes about 2 to 3 hours.
5. Leave to cool before rolling them into small balls.
6. Keep in fridge if using it on the same day. Put in the freezer if not going to use immediately.

This is how I rolled & stacked before keeping them in the fridge.

Note:

1. The next time, I will use 50% riped pineapples, and 50% half-riped pineapples as I read from somewhere that the jam will be more flavourful.
2. Make sure the eyes of the pineapples are removed.
3. More stirring required towards the end as the jam will get burnt easy at this stage. Keep an eagle-eye when the jam starts to dry.


Pastry
750g butter
525 Hong Kong flour, sifted
525g plain flour, sifted
1 tsp butter milk essence
100g milk powder
50g custard powder
120g soft brown sugar
4 1/2 egg yolk
1 1/2 egg white
1/2 tsp salt
1 egg (for egg wash)

1. Beat all ingredients, except Hong Kong flour and plain flour, till pale white.
2. Add flour and mix evenly. Do not over-mixed.
3. Keep in fridge for 30 mins before use.
4. You can either use this for closed-up tarts or nastar. (I've not tried open tarts using this recipe.)
5. Egg washed the tarts before baking to give it a nice colour.
6. Bake in pre-heated oven at 175 deg C for 25 mins.
7. Cool tarts thoroughly on wire rack before storing.


**NEW Recipe


Ingredients/ Method:
Recipe adapted from QBB webite - Chef Devagi's
Pineapple Tarts

Pastry
•200g QBB
•25g icing sugar
•2 egg yolks
•1/2 tsp salt
•350g plain flour

1.Using a wooden spoon, cream QBB, sugar, egg yolks and salt until creamy.
2.Fold in shifted flour and mix well to combine. The dough will be sticky and slighly 'wet' to the touch. Refrigerate for 1/2 hour.
3.Preheat oven to 180 deg C. Line 2 - 3 baking trays with greased baking paper.
4.Roll out pastry to about 0.75cm thick.
5.Make tart shapes with pineapple tart cutter.
6.Arrange on a lined baking tray.
7.Place prepared balls of pinapple jam in the hollow of the cut pastries.
8.Bake for 20 - 25 min
9.Cool tart thoroughly on a wire rack before storing.

Note:
1. I used the same pineapple jam as the "OLD" recipe.

Before baking, I tried a few moulds to test which is the easiest to handle.
I love the flower-shaped but they are not as easy. Next year, perhaps!


Personally, I still love my "OLD" recipe. I will gather what my other family members and relative got to say about these 2 pineapple tarts and will update shortly.

I'm also submitting this to Aspiring Bakers #3: My Favourite CNY Cookie hosted by j3ss kitch3n.


Saturday, January 22, 2011

Special Melting Moments

Today is a activities-filled day! At the repeated request of my boy, he wanted to take the train from our place to Changi Airport... nothing special if you are not staying in the farthest north of Singapore. I didn't really timed the journey, but I think it took at least 1.5 hours including the feeder service from my house to the MRT station. The return trip was another train and super long bus trip back from Changi Airport back home. Really a B.M.W. (bus.mrt.walk) day! Although it was pretty tiring, I really cherish and love these moments. Our conversation whilst in the sky train:-

Me: Are you happy today?
Zakris: I am happy!
Zakris: Mummy, are you happy?
Me: I'm happy because you are happy :-))
Zakris: Why?
Me: B'cos I love you <3<3<3>

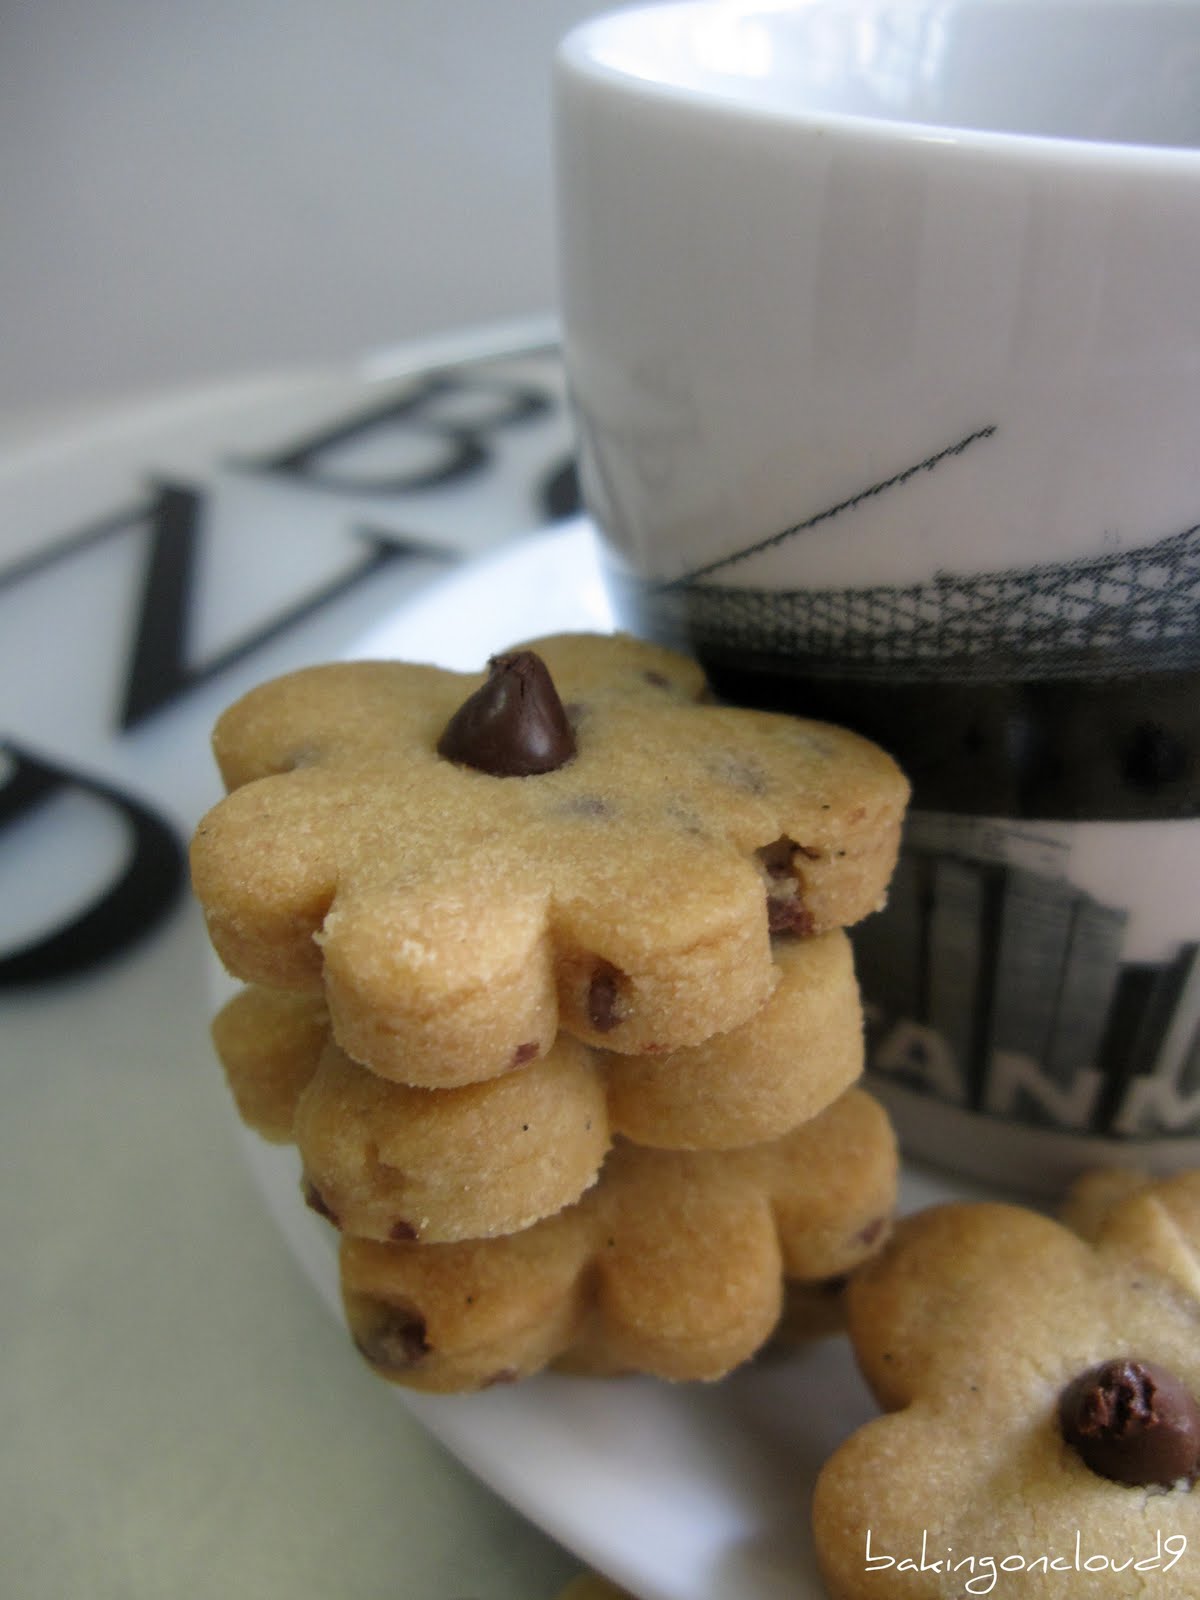
I thought I would be too tired to do any baking today, but my energy level went up when I reached home. So here's another recipe which I'm trying from Agnes Chang's I Can Bake.... Special Melting Moments. Another easy and no-fuss (i.e. no mixer required) recipe which yield yummy & very delicate morsels. And these are made especially special because my darling helps with the mixing and piping :-))


Special Melting Moments
Recipe adapted from Agnes Chang's I Can Bake

Ingredients/ Method:
200g butter
80g icing sugar, sifted
1 tsp vanilla essence
1/4 tsp salt
120g self-raising flour, sifted
120g corn flour, sifted
1. Cream butter, icing sugar, vanilla essence and salt using spatula till just combined.
2. Add self-raising flour, corn flour and mix into soft dough.
3. Spoon mixture into a piping bag fitted with a big star nozzle. Pipe onto a greased baking tray to form into the shape of rosette.
4. Bake in a pre-heated oven at 170 deg C for 15 - 20 mins till light golden brown.
5. Cool on rack, sprinkle some icing sugar on top if desired.
6. Store in air tight tin before serving.

Note:
1. I reduced the icing sugar to 60g, sweetness is just nice for me.
2. As usual, I used my favourite pure vanilla bean paste.
3. I baked the cookies at 15 mins.
4. I sprinkled snow powder on some of the cookies but I think they look and taste better without them.
5. The next time I baked, I may want to add a bit of red cherries to make these cookies look brighter and cheery.
(Updated 23.1.2011: My relatives tried these but they don't fancy this cookies. General comment is that it's very salty. To omit salt or use unsalted butter the next time if I'm trying this recipe again.)


Melting Moments dusted with snow powder.

I'm submitting this to Aspiring Bakers #3: My Favourite CNY Cookie, hosted by j3ss kitch3n.


Sunday, January 16, 2011

Daisy Mocha Cookies

Another CNY cookies that I made today - Daisy Mocha Cookies, the first recipe that I tried from Agnes Chang "I Can Bake" cookbook. Personally I'm not a cookie-person, and usually I don't pay much attention to the cookie section of any cookbooks. If you were to notice, I hardly bake cookies but during this CNY season, it seems that I'm going to bake more cookies than ever ;-))


The recipe is very easy to prepare, and only require a mixing bowl and spatula.

Daisy Mocha Cookies
Recipe adapted from Agnes Chang "I Can Bake"

Ingredients/ Method:
(A) 250g butter
120g castor sugar
1 egg yolk
1 1/2tsp coffee paste

(B) 420g plain flour, sifted
60g chocolate rice

Decoration: Some chocolate chips

1) Put all ingredients A into a mixing bowl and cream till well combined.
2) Mix in ingredients B and form into a firm pliable dough.
3) Place the dough in between 2 layers of grease-proof paper and roll it to 3mm thick.
4) Cut with daisy-shaped cookie cutter and arrange the shapes on a greased baking tray. Decorate each centre with a chocolate chip.
5) Bake in pre-heated oven at 180 deg C for about 15 - 20 mins, till lightly brown. Leave to cool before storing.

Note:
1) I reduced the sugar to 100g and level of sweetness is just right for me.
2) I replaced the coffee paste with 1 1/2tsp hot water and 2tsp nescafe granules, as I didn't want to buy the coffee paste which I know I will hardly use.
3) Work on a small portion of dough at a time, and put the remaining dough in the fridge. It's much easier to work with the dough when they are just out of the fridge.


Verdict: The cookies are crunchy & crispy, the coffee taste is mild and not over-powering. For a non-cookie person, I don't mind eating them at all. T prefers this over the Sugi cookies.

I'm also submitting this to Aspiring Bakers #3: My Favourite CNY Cookies hosted by j3ss kitch3n.

Suji Cookies

This is the start of my CNY baking. Unlike previous years where I would start with my favourite pineapple tarts, I'm now baking other stuffs first. Though I have prepared my homemade pineapple paste, I want to bake them last so that the pineapple tarts are eaten as fresh as possible.


I always planned and tagged many recipes but end up doing one or none...kekeke. Quite determined that it would not happen (again) this year, today (or at least half a day) is fully reserved for my baking. Fortunately, T is ever so welling to take care of Zakris and brought him out for their CNY haircut, library, lunch, in-law's place, etc. and whilst I'm writing this post, they are both sleeping soundly. The evening is reserved for both hubby & sonny - dinner and shopping ;-))


Here's the first of my CNY baking..... Suji Cookies! And what do you do when someone doesn't want to share his/ her recipe, don't fret, there's always the internet and so many generous sharing by other bloggers!


The black specks are from the vanilla bean paste!

Suji Cookies
Recipe adapted from QBB website - Chef Devaji
Ingredients/Method:-
250g QBB
1 teaspoon vanilla essence
500g plain flour
2 teaspoons bicarbonate soda
170g icing sugar
3/4 teaspoon fine salt
  1. Melt QBB over low heat and cool.
  2. Add vanilla essence to cooled ghee.
  3. Sift flour, bicarbonate soda, icing sugar and salt into mixing bowl.
  4. Pour ghee mixture in flour mixture and knead well to form a firm dough.
  5. Preheat the oven to 180 deg C.
  6. Roll dough into melt-in-your-mouth ball sizes and place on greased tray.
  7. Bake for 25 - 30 minutes till cooked but not brown. The cookies should be white and crumbly in texture.
Note:
  1. I replaced vanilla essence with same amount of my favourite pure vanilla bean paste.
  2. After baking the first batch, I adjusted the oven temperature to 175 deg C, and baking time reduced to 20 min.
  3. Roll the dough very small (about size of 10 cents coin) so that you can pop them in your mouth; they expand a fair bit after baked.

Update 27.1.2011: I baked another 2 batches last weekend and reduced the sugar by 25%, and baked them at 18 mins for smaller dough size (about 10 cents coin). I think the salt can be reduced slightly too. Overall comment for this cookie is very good.

The verdict - I love these cookies, they really melt-in-your-mouth <3<3<3>

I'm submitting this entry to Aspiring Bakers #3: My Favourite CNY Cookies, hosted by j3ss kitch3n.

Saturday, January 1, 2011

Nutella banana squares


The last thing I did in 2010 and first thing in 2011 is this nutella banana squares.... nothing elaborate and in fact a recipe which I tried before. Except that previously i baked in a muffin cup and it had a streusel topping, I decided to make mine in squares and slather lots of nutella and put on a cheery-red raspberry :)) Baking the banana cake was a breeze but I did have a tough time cutting up them in squares of 4cmx4cm as the nutella kept sticking on the knife. In the end, it was so messy that the last 2 pieces of squares was almost beyond recognition ;0

*P.S. The main reason for baking this was because of the very riped mini bananas sitting in my kitchen, and screaming to be eaten or else to be fed to the bin!

Happy holiday!

Happy eventS

Before I start blogging about my bakes & such in 2011, I want to complete this post about the happy eventS that happened in 2010.....

My Madagascar Vanilla Beans - one whole packet of fresh vanilla beans! ..... and


One big bottle of Nielsen-Massey Pure Vanilla Bean Paste - 944ml! ......


...... I think these are going to last me for many good years of baking!

However, the anxiety of waiting and happiness of receiving these vanilla bean (paste) does not beat seeing my dearest sis, who's residing in States, once again! Now, I'm looking forward to my trip to visit her this year ;-))


02102010 - These were cute little wedding cupcakes that I made and received positive feedbacks, there were some "ohhs" and "wows" .....


.... but what made me much happier is that my youngest brother has finally tied the knot!! I believe my mum would be the happiest at wherever she is now ;-))


To end our year 2010, we had dinner at Tims Restaurant & Cafe - a no-fuss place that served good food ....

From left to right: Cream of Asparagus with roasted almond, Chicken caesar salad, Oyster rockafellas


Fish & Chips


NZ Ribeye topped with sauteed pacific clam with black pepper sauce


Grilled lobster & panseared cajun spiced salmon fillet with basil cream sauce


Desserts: Blueberry cheesecake & strawberry ice-cream

I'm counting my blessings to be surrounded by many loved ones and good friends. Of course, there were many other happy, not-so-happy, ups&downs in 2010, but with a beginning of new year 2011, the goods will be remembered & the bad be bygones, everything will be refreshed. I'm wishing EVERYONE a very happy, healthy and smooth sailing year ahead! Cheers o(oO)o